
Quick Answer
Use an M700 with a 20-inch sub barrel, HPBT ammo and a 25x scope, and take your shots inside 300 m. Set zeroing with Page Up and Page Down, hold your breath with Left Alt only for the moment you fire, and pick a spot with cover close by, not just height.
Which rifle, ammunition, and optic should you use for sniping?
The M700 bolt-action with a 20-inch sub barrel, HPBT rounds and a 25x scope is a reliable sniping build. It lands headshots comfortably at 200–300 m and gets hard to place past 350 m.
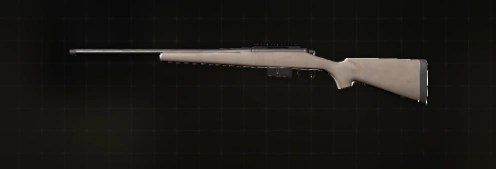
| Part | Pick |
|---|---|
| Rifle | M700 |
| Barrel | 20-inch sub bbl |
| Ammunition | HPBT |
| Optic | 25x scope |
More magnification does not fix a target you cannot see. At long range the problem is usually how far the game draws enemies, not your zoom.
Update 0.5 added a separate scope sensitivity and an adjustable magnification slowdown. Lower the scope sensitivity until small corrections feel controllable through the 25x optic.
Every attachment adds weight, and heavier rifles drain your arm strength faster while you aim. Keep the build lean if you hold the scope up for long; see the Gray Zone Warfare best loadout for what else to carry.
How do you handle range, zeroing, and bullet drop?
Match your zeroing to the target distance with Page Up (next range) and Page Down (previous range), then aim straight at the target.
Get the distance
Use a rangefinder scope or drop a map waypoint on the target to read the distance.
Set the zero
Press Page Up to step the zeroing range up and Page Down to step it down until it matches the distance.
Aim center mass or head
With the zero matched, aim directly at the target. Each rifle and ammo type drops differently, so re-check the zero after you change either one.
The old bugs where zeroing reset after leaving ADS or some scopes could not be zeroed are fixed. For the full method, see Gray Zone Warfare zeroing.
How do you stabilize your aim before firing?
Hold your breath with Left Alt right before the shot, not while you wait.
Holding breath steadies the reticle but drains arm strength and stamina, and heavy rifles drain them faster. Crouching and going prone improve accuracy, but the scope still sways in every stance, so time the shot instead of waiting for the reticle to stop.
Line up, hold breath, fire, release. If the reticle starts shaking again, drop the scope for a second and reset rather than holding longer.
Where should you position yourself for clear sniping sightlines?
Pick a spot that sees the target and has cover close by. Height alone is not enough.
| Area | Good positions |
|---|---|
| Fort Narith | Back-entrance hill, ATC, runway ends, guard towers |
| Midnight Sapphire | Southwest hotel road, Teoa Waterfalls, Hotel 1 LZ high ground |
| Sawmill | Southwest high ground, southeast bridge, Echo 1 LZ high ground |
| YBL-1 | Northeast road facing the compound |
At Midnight Sapphire, the overlook facing the waterfall side of the hotel sees much more than the gazebo above the closer LZ. Patrols also walk up under that gazebo, so watch your own flank.
Bullets go through thin cover. A spot that lets you see the target also lets the target shoot back through it.
What limits long-range visibility and accuracy?
Draw distance is the hard limit. Enemies around the Midnight Sapphire hotel render poorly at about 400 m but are clear at 300 m, and at Fort Narith enemies do not show up at all from over 500 m.
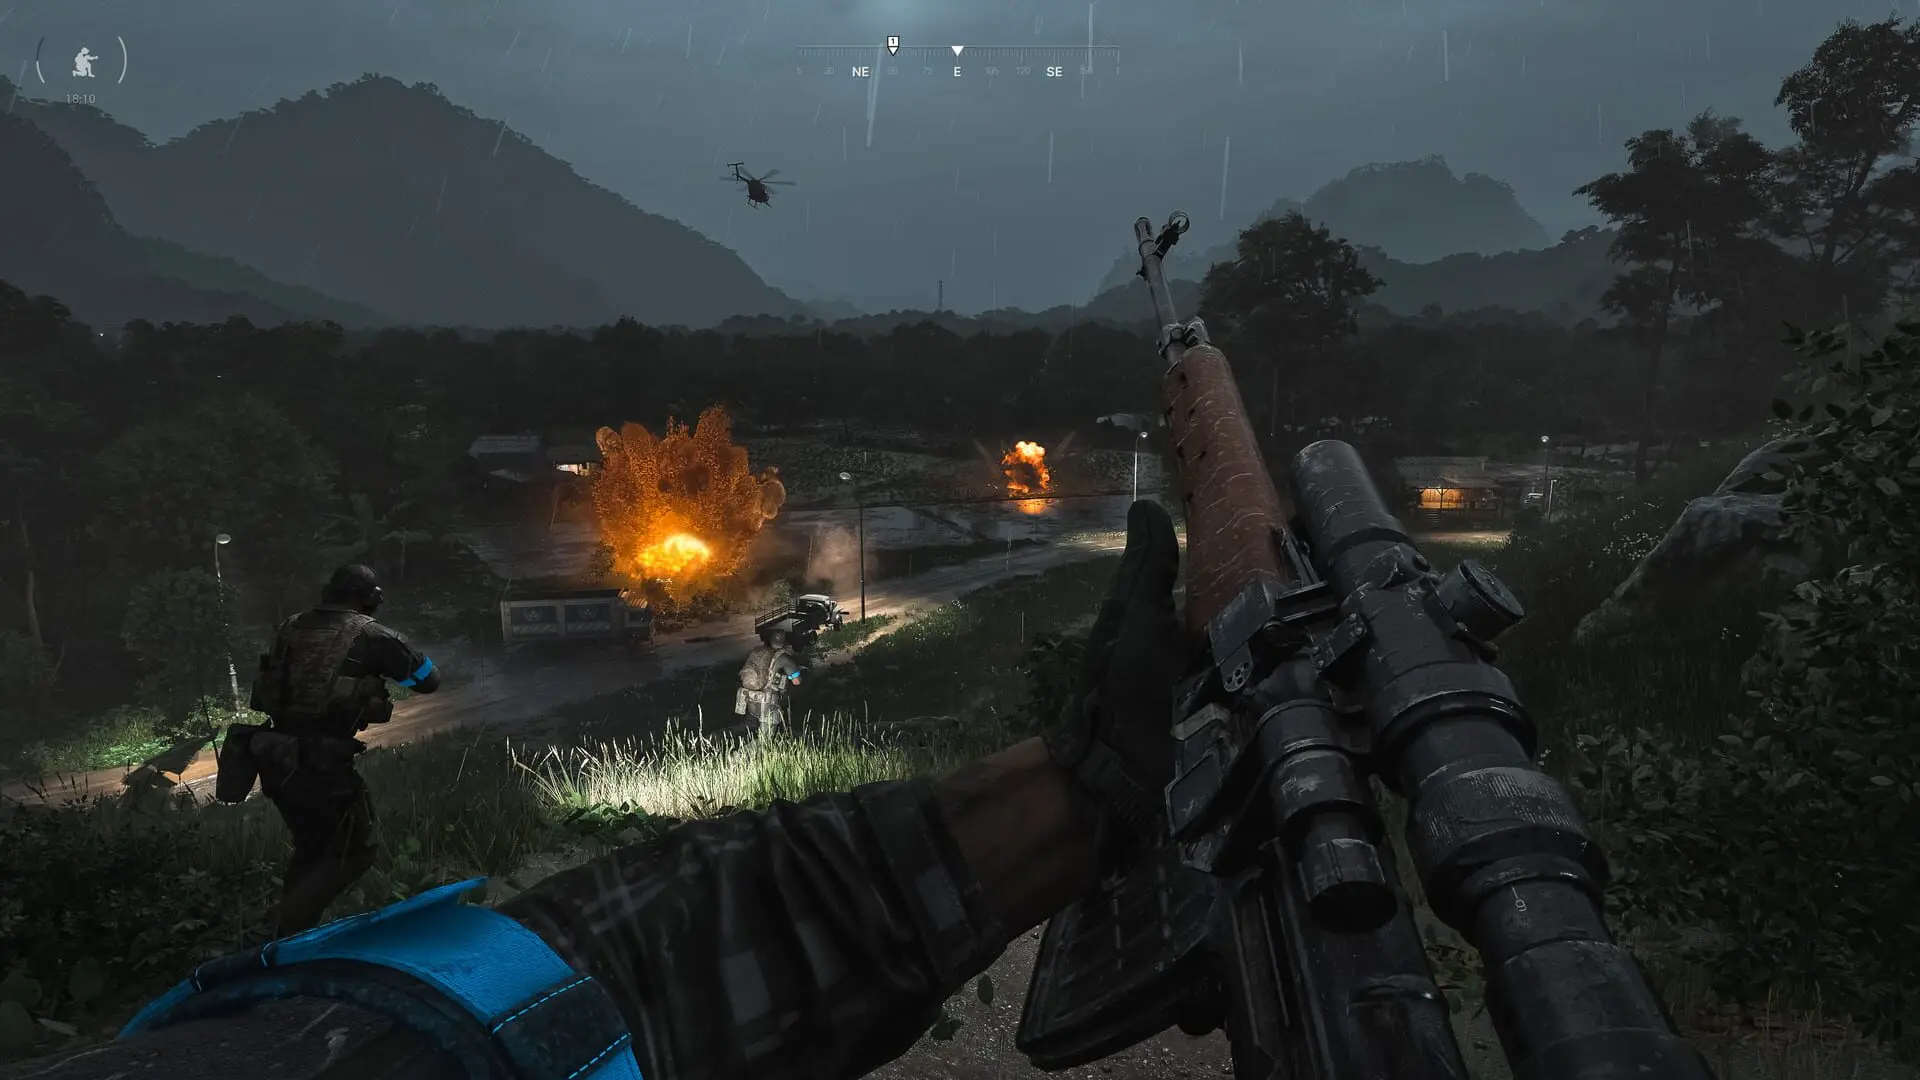
From the hill north of Fort Narith, objects are hard to make out beyond about 100 m because of lower detail models. Keep your shots inside 300 m and close the distance if you cannot clearly see the target.
When you are ready to move on from overwatch, take the same cover habits into Gray Zone Warfare advanced combat tips.
FAQ
An M700 with a 20-inch sub barrel, HPBT ammo and a 25x scope. It hits reliably at 200–300 m.
Yes. Page Up is Zeroing Next Range and Page Down is Zeroing Previous Range.
No. Prone improves accuracy, but the scope still sways. Hold your breath with Left Alt for the shot.
The back-entrance hill, ATC, the runway ends and the guard towers.
Practically about 300–400 m. Past that, enemies stop rendering clearly, and at over 500 m they may not show up at all.